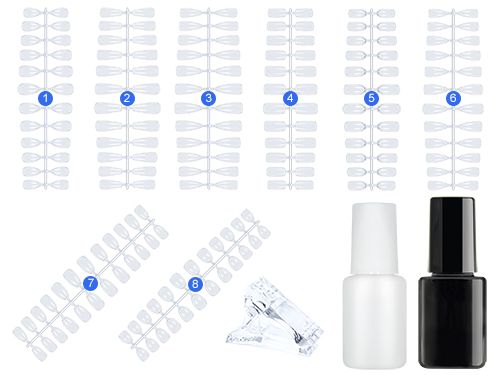
Content:
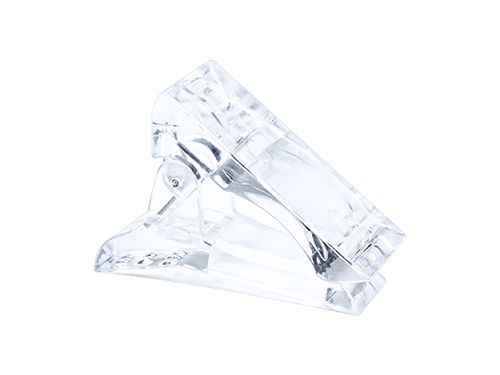
- 1 x Press On Tip Clip
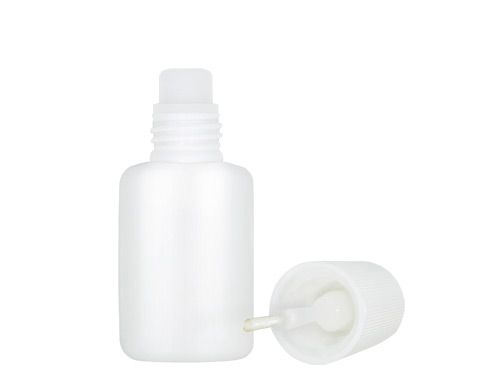
- 1 x Press On Glue 12ml
- 1 x TipKleber PinselFlasche 7,5g
- 12 x Press On Tip (1) Almond short
- 12 x Press On Tip (2) Ballerina long
- 12 x Press On Tip (3) Stiletto long
- 12 x Press On Tip (4) Classic short
- 12 x Press On Tip (5) Round long
- 12 x Press On Tip (6) Almond long
- 12 x Press On Tip (7) Natural short
- 12 x Press On Tip (8) Round short
The Press on Nails are made of a sturdy and unbreakable ABS plastic and in the 10 common sizes in the box. Unlike a normal tip, the Press on Nails covers the complete nail plate. This nail trend is characterized by the fact that the Press on Nails can be worked with different types of application. This is easy - and you are super fast. This not only eliminates the need to file the transition from tip to natural nail, but also eliminates the need for complete build-up as with classic modeling. You can work the nail art right on top. It is a super alternative to conventional nail modeling. The press-on nails are available in all possible colors, shapes and lengths, therefore suitable for any outfit. Also for photo shoots, to a business appointment or even at theme parties, you can wear the removable fingernails very well.
Application with TipGlue:
1. Remove old polish if necessary. Prepare the nails and degrease with Cleaner.
Our tip: It is best to also "buffer" the surface slightly with a buffer. This creates a rough surface, which makes the TipGlue stick even better.
2. Now choose the right tip for your nail size and apply the tip glue to the underside of the artificial nail.
3. Now place the tip diagonally at the nail fold, slowly press it down to the free nail tip and hold it pressed on the nail for a few seconds.
4. then apply the nail tip with a buffer and apply the desired colour as Color-Gel, PolishGel or Nail Polish and then seal.
Application Press On Glue or Acrylic Gel:
1. prepare the natural nails as for a conventional nail modelling.
2. choose the right tip for your nail size. Choose a larger tip rather than a tip that is too small. Roughen the inside of the tip with a buffer or bit in the area of the contact surface.
3. Apply the Press On Glue to the natural nail and cure for 60 seconds in the LED light curing unit or for 120 seconds in the UV light curing unit. Important: Do not remove the sweat layer.
4. Apply Press On Glue or Acrylic Gel to the inside of the tip. Now place the tip diagonally at a distance of approx. 1mm from the upper nail fold and slowly press it down to the free nail tip.
Important: Make sure that no air bubbles form when applying and pressing.
5. Use our Press On Tip Clip to hold the tip in place and prevent it from slipping.
6. Cure the nail with the Press On Tip Clip for 60 seconds in the LED light curing unit or for 120 seconds in the UV light curing unit. Remove the Press On Tip Clip after curing. 7.
7. If material has run out at the edges, remove it thoroughly with a Pro Pusher or rosewood stick.
8. now coat the entire nail tip with a buffer and apply the desired colour as Color-Gel, PolishGel or Nail Polish and then seal.
Application with acrylic:
1. prepare the natural nail as you would for a conventional nail modelling.
2. choose the right tip for your nail size. Choose a larger tip rather than a tip that is too small. Roughen the inside of the tip with a buffer or bit in the area of the contact surface.
3. Now apply a small acrylic ball to the inside of the Press On Tip. Dip an acrylic brush completely into the acrylic liquid.
Important: Apply the material only to the nail bed.
Our tip: It is best to fan out the brush at the same time to remove any remaining bubbles in the brush. Then wipe the brush on the Dappen Dish glass and brush the tip of the brush over the acrylic powder until a small ball forms. The ball should smooth out and shine within 3 sec. Now place the small acrylic ball on the area of the nail bed. Keep the brush flat to shape the material on the nail.
4. Now place the tip at an angle with a distance of approx. 1mm to the upper nail fold and slowly press it down to the free nail tip. Important: Make sure that no air bubbles appear when applying and pressing the tip.
5. Press the tip lightly for approx. 60 seconds until the acrylic has hardened.
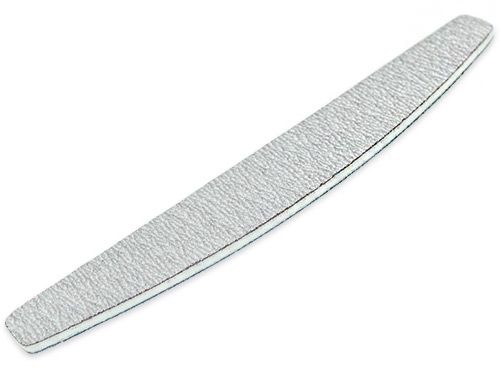
6. Then trim the nail with the professional file and file it into shape.
7. Remove dust from natural nails with a dust brush or nail brush.
8. If material has run out at the edges, remove it thoroughly with a Pro Pusher or rosewood stick.
9. Now matt the entire nail tip with a buffer and apply the desired colour as a Color-Gel, PolishGel or Nail Polish and then seal.
Removing Press On Nails:
1. trim the nail either with a nail file 80/80 grit or with an electric nail cutter. Important: Carefully remove as much of the nail as possible. Do not get on the natural nail, it is best to file off 2/3 of the modellage.
2. Now file off the rest of the nail with a file 100/180 grain until there is no material left on the natural nail.
3. remove the last unevenness with the buffer file. To make it easier to remove the cuticles, apply our cuticle remover and leave it on for 2-3 minutes.
4. Then carefully push back the cuticles with a Pro Pusher, horse foot or rosewood stick. Then remove any cuticle residue from the nails. Of course, you can also remove the cuticles with a nail cutter.
5. Remove the remaining excess skin with cuticle nippers. Then remove the rest of the dust with cleaner and a cellulose.
6. To provide your natural nail with plenty of care and nutrients, apply a thin layer of Base Coat Calcium Gel to the nail and leave to air dry for a short time.


 Deutsch
 Spanish
 Italian
 French
 Portuguese
 Polish
 Greek
Greek
